Travel can be tough on manicures, especially when you rely on press-on nail sets for a polished, on-the-go look.
Between packing, changing climates, and constant hand use, nails can loosen or pop off at the worst moments. Knowing how to pack them properly, apply them for better hold, and quickly fix any lift or breakage can make all the difference while you’re away from home.
With the right preparation and a few simple tricks, you can keep your set looking fresh and secure throughout your trip, traveling with confidence.
Key Takeaways
- Travel with glue, tabs, wipes, and extra nails.
- Store nails in a hard case or original box.
- Prep nails well before applying.
- Fix pop-offs quickly with clean surfaces.
- Choose nail length based on your travel plans.
How to Pack, Apply, and Fix Press-On Nail Sets While Traveling
1. What to Pack in a Travel Nail Kit
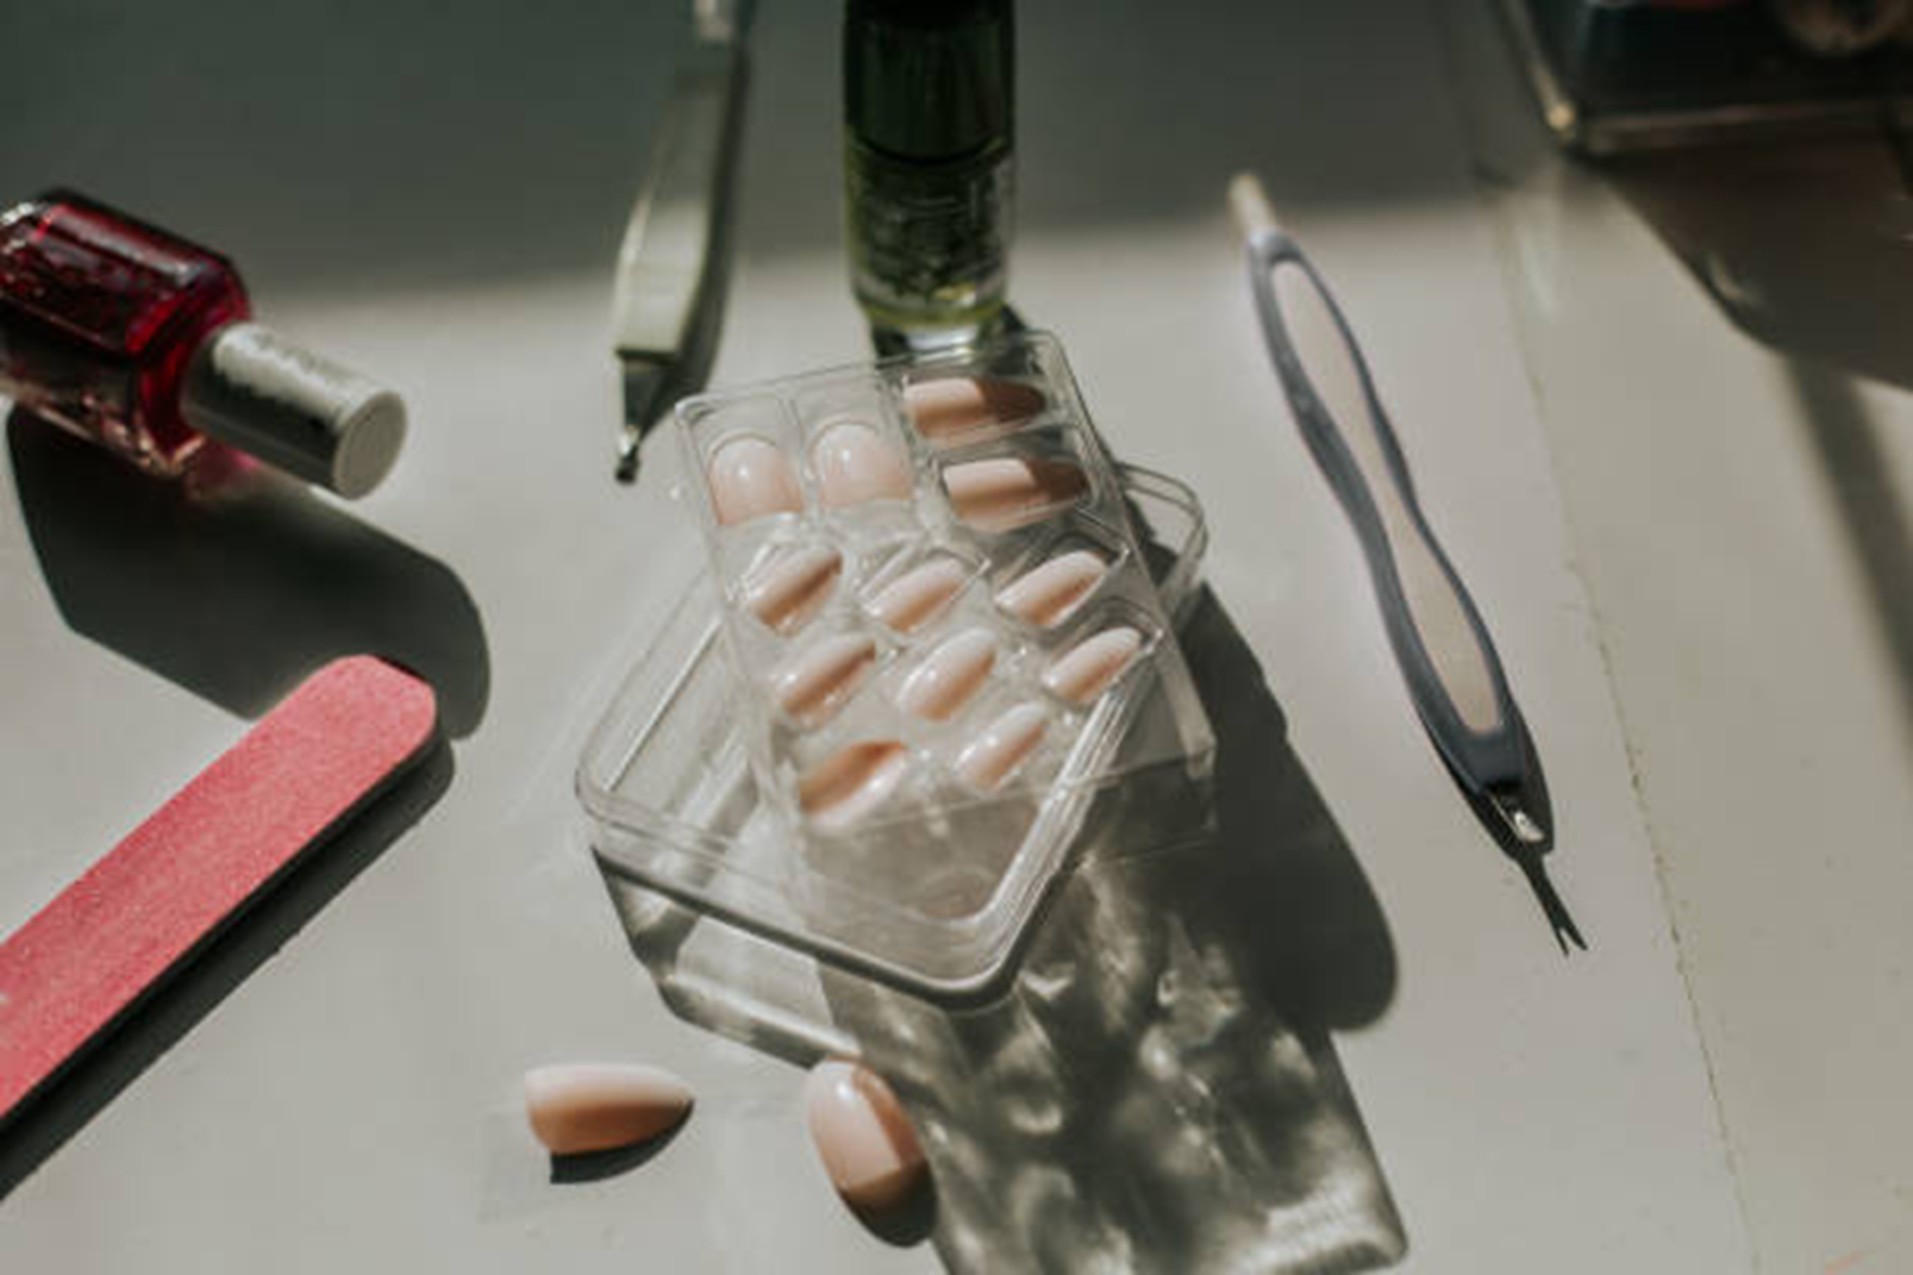
A small nail repair kit can save your manicure. You do not need to pack a full nail station. A few compact tools are enough. A few compact tools are enough to keep press-on nail sets neat, secure, and ready for quick fixes.
Travel Nail Kit Essentials
Pack these items in a small pouch:
- Mini nail glue
- Adhesive tabs
- Alcohol wipes
- Mini nail file
- Buffer block
- Cuticle stick
- Small nail clipper
- Extra press on nails
- Cotton pad or tissue
- Tiny bottle of cuticle oil
Keep the kit easily accessible, especially during long travel days.
If you are flying, check the airline’s rules on liquids and sharp objects before packing them in your carry-on.
Why Pack Both Glue and Tabs
Glue usually gives a stronger hold, while adhesive tabs are better for quick, temporary fixes.
Tabs are also helpful if you want to remove the nails sooner or reuse them later.
For longer trips, having both options gives you more control. Use glue for durability, especially with
gel press-on nails, and use tabs when you need a fast repair before dinner, photos, or a meeting.
How to Pack Press-Ons Without Damage
Press-ons can scratch, bend, or lose shape if they are tossed loosely into a bag. This is especially important for
hand-painted nails because detailed art can be damaged by friction.
The original packaging is usually the safest place for your press-on nail sets. It keeps each nail separated and helps protect the shape. If the box is too large, use a small hard case, pill organizer, or compact jewelry case. Avoid soft pouches unless each nail is wrapped or secured.
Label Your Nail Sizes Before You Leave
Before traveling, label each nail by finger. This saves time if you need to replace one quickly.
You can write small labels such as L thumb, R index, or left middle on the storage card. This is especially helpful if your nail sizes are slightly different on each hand.
Protect Detailed Designs
Detailed designs need extra care during travel. Raised art, chrome effects, charms, and glossy finishes can rub against tools or packaging if not stored properly.
If you are packing gel nail sets, place them flat and keep them away from files, glue tubes, keys, or metal tools. This helps protect the finish and keeps the set looking fresh.
2. How to Apply Press-Ons for Better Travel Wear
Step 1: Start With Clean Nails
Wash your hands and dry them fully. Gently push back the cuticles and remove any old polish. Your natural nails should be clean, dry, and oil-free.
Step 2: Buff Lightly
Use a buffer to remove shine from the nail surface lightly. Do not over-buff. The goal is to create a slightly textured surface, so glue or tabs can grip better.
Step 3: Wipe With Alcohol
Use an alcohol wipe to remove dust and oil. Let the nails dry completely before applying anything.
Step 4: Match Each Press On
Lay out the nails in order before applying. Make sure each press-on fits from sidewall to sidewall without touching the skin.
A nail that is too small may lift. A nail that is too large may press into the skin and feel uncomfortable.
Step 5: Apply With Firm Pressure
Apply a thin layer of glue to the natural nail and a small amount to the press-on if needed. Place the nail near the cuticle first, then press down toward the tip.
Hold firm pressure for 20 to 30 seconds. Avoid water, lotion, and heavy hand use immediately after application to keep your press-on nail sets secure.
3. How to Fix a Pop Off Fast
Save The Nail
If the nail pops off, place it somewhere safe. Do not toss it into your bag loose because it may collect dust, lint, or oil.
Clean The Natural Nail
Use an alcohol wipe to clean your natural nail. If old glue is uneven, gently buff it smooth. Do not peel or scrape aggressively, as this can damage the nail plate.
Clean The Press On
Check the back of the press. If there is old adhesive or glue buildup, gently file or buff it until the surface is smoother.
Reapply
For a fast fix, use an adhesive tab. For a stronger fix, use nail glue. Press firmly and hold the nail in place. If you are wearing
long press-ons, take extra care while reapplying so the nail sits straight and does not feel loose at the tip.
If you are in a rush, a tab may be enough to get through the event. You can do a stronger repair later.
Conclusion
Traveling with polished nails is much easier when you plan.
A small repair kit, safe storage, and careful application can help your manicure stay fresh through flights, events, sightseeing, and busy travel days. Press-on nail sets are convenient because they let you enjoy a salon-style look without needing an appointment, while away from home. Even if a nail pops off, the right tools make it simple to clean, reapply, and keep going. With a little preparation, your nails can stay neat, secure, and photo-ready from the start of your trip to the final day.
Honeybae Nailz offers travel-ready nail styles that are easy to pack, apply, and repair on the go.
FAQs
Can pressed-on nails go through airport security?
Yes, press-on nails are generally fine for airport security. Keep nail glue and other small liquids packed in accordance with your airline’s carry-on rules.
Should I apply press-ons before or after reaching my hotel?
Apply them upon arrival at your hotel for the freshest look at an event. Apply them before leaving if you need your nails done for travel photos or plans right after arrival.
Can I swim with press-on nails while traveling?
Yes, but long soaking can weaken the hold. For beach or pool trips, avoid applying them right before swimming.
What nail length is best for sightseeing?
Short to medium lengths are usually best because they are easier to manage with bags, phones, tickets, and daily activities.
Can I reuse press-ons after a trip?
Yes, if you remove them gently and clean off the leftover adhesive. Adhesive tabs usually make reuse easier than glue.