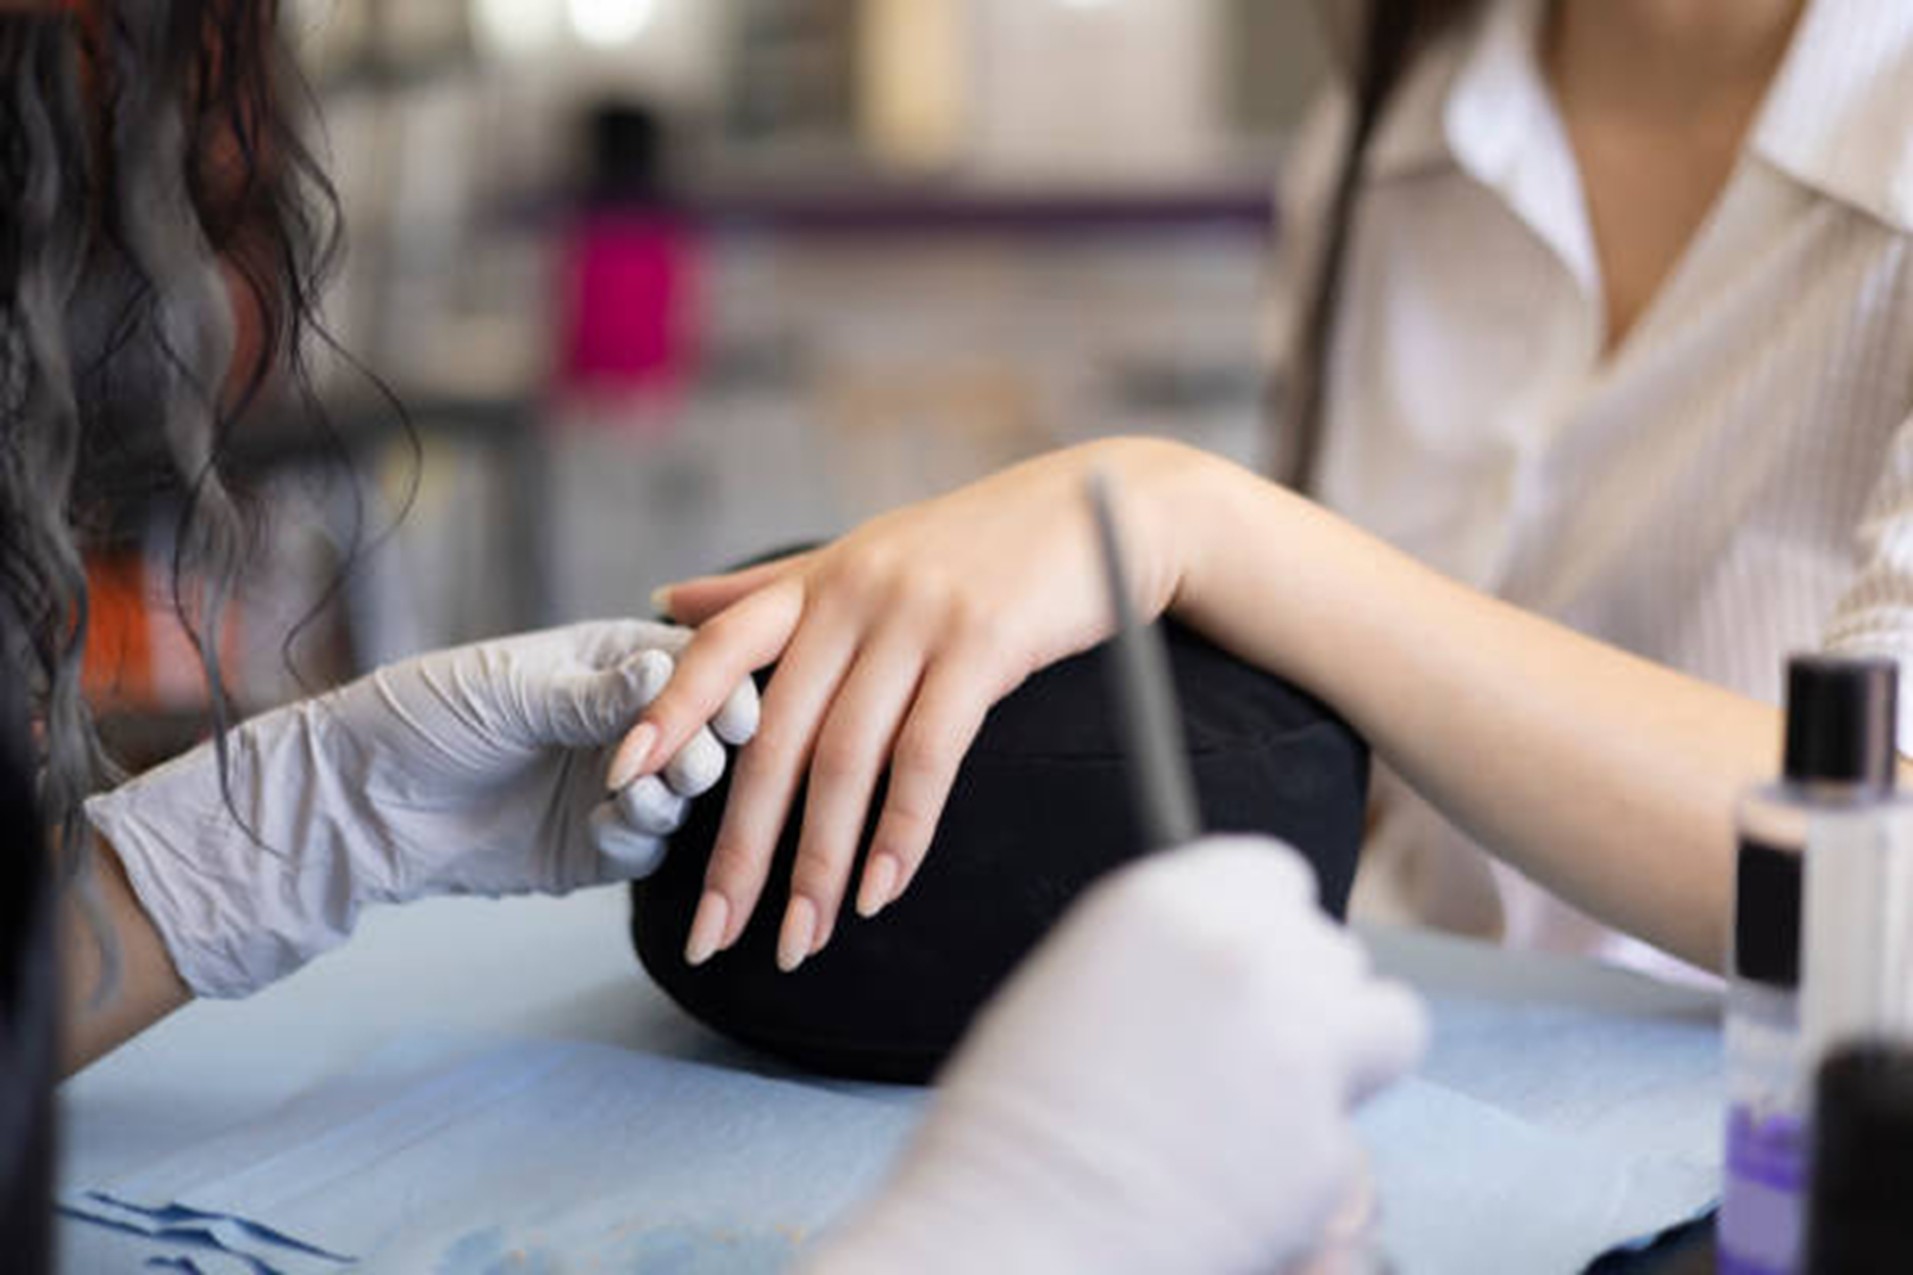
Getting a natural, seamless look with press-on nails can be tricky for those with wider nail beds, especially when standard sizes don’t fit perfectly. Small gaps at the sides or uneven cuticle lines can make even the best designs look less polished. This is where
handmade press-ons become especially useful, as they can be tailored for better width, shape, and overall balance.
With the right fitting techniques,
it’s possible to achieve a smooth, salon-like finish that blends effortlessly with the natural nail. This guide explores simple fit tricks that help create a flawless, wide-bed-friendly look.
Key Takeaways
- Measure your nails carefully before ordering.
- A customized fit creates a more natural appearance.
- Nail shape can enhance the overall look of wide nail beds.
- Comfort and durability start with proper sizing.
- Quality handmade press-ons deliver a polished, salon-inspired finish.
Fit Tricks That Make Handmade Press-Ons Look Seamless
1. Choose a Slightly Larger Size and File the Sidewalls
For wide nail beds, it is usually better to choose a handmade press-on size that is slightly larger rather than slightly smaller. A smaller size can leave visible side gaps, while a slightly larger size can be customized.
Here are a few fitting tips:
- Choose a press-on that fully covers the natural nail from sidewall to sidewall.
- Avoid using a size that feels tight or exposes the natural nail edges.
- Gently file the sidewalls until the press-on matches the natural nail width.
- Remove a little product at a time instead of over-filing.
- Shape the cuticle area so it follows the natural cuticle line.
The goal is for
handmade press-ons to hug the natural nail without touching the skin. This helps the nail blend better and look more professional.
2. Pick Shapes That Visually Slim the Nail Bed
Nail shape can completely change how wide nail beds appear. Some shapes make the nail look wider, while others create a slimmer and more balanced look.
For wide nail beds, these shapes are usually more flattering:
- Almond
- Oval
- Soft coffin
- Tapered square
Almond and oval shapes help soften the sides and draw the eye toward the tip,
which makes the nail look longer and slimmer. Soft coffin and tapered square shapes are good options for people who want a modern look without making the nail appear too broad.
Very wide square shapes can sometimes make nail beds look even wider, so a slight taper is often more flattering. This is why many people prefer
handmade press-ons over standard sizes: they can be shaped for a cleaner, custom fit.
3. Match The Curve of the Press-On to The Natural Nail
Curve is another important detail. Some natural nails are flat, while others have a stronger curve. If the press-on curve does not match the natural nail, the fit may look uneven or feel uncomfortable.
A few curve-matching tips include:
- Use flatter press-ons for flatter nail beds.
- Use more curved press-ons for naturally curved nails.
- Avoid forcing a highly curved press-on onto a flat, wide nail bed.
- Check the sidewalls before applying to make sure there are no gaps.
- Choose handmade sets when possible because they allow better customization.
A seamless look comes from choosing a press-on with a curve that closely matches the natural nail.
This is also helpful when wearing gel press-on nails, because a better curve match can make the finish look smoother and more natural.
4. Apply With Full Coverage and Clean Placement
Application is just as important as sizing.
Before applying handmade press-ons, the natural nails should be clean, dry, and lightly buffed. The press-on should be placed close to the cuticle without touching the skin.
For a clean application:
- Clean the natural nail surface before application.
- Lightly buff the nail plate for better grip.
- Apply glue or adhesive tabs evenly.
- Place the press-on close to the cuticle, but not on the skin.
- Press down firmly from the cuticle area toward the tip.
- Hold the nail in place to remove air pockets.
- Make sure the sides are fully attached.
For wide nail beds, full adhesive coverage is especially important. Gaps in the adhesive can cause lifting, mainly around the sides.
Using a proper nail application kit can help with prep, placement, and longer wear.
A clean placement helps the press-on look natural, smooth, and seamless. When sizing, shape, and application all work together,
custom nail sets can give wide nail beds a polished salon-style finish.
Conclusion
Finding the perfect fit for wide nail beds does not have to be difficult.
With careful sizing, thoughtful shaping, and proper application, press-on nails can look just as natural as a salon manicure. Paying attention to small details, such as nail curvature, cuticle alignment, and overall comfort, helps create a polished finish that lasts longer and feels secure throughout the day.
Investing in quality handmade press-ons also gives you more flexibility to achieve a customized look that complements your natural nail shape. The right fit not only improves appearance but also makes wearing press-ons more comfortable and enjoyable.
Ready to find press-on nails designed for a flawless fit? Visit Honeybae Nailz for handcrafted styles made to complement every nail shape, including wide nail beds.
FAQs
Can I reuse handmade press-on nails after removing them?
Yes. If you remove them carefully without damaging the nails, most handmade press-on sets can be cleaned and reused multiple times. Their lifespan depends on how well they are maintained and stored.
How should I store press-on nails between uses?
Keep them in their original storage case or a protective container away from direct sunlight, moisture, and excessive heat. Proper storage helps preserve their shape and finish.
Can I wear press-on nails if I have short natural nails?
Absolutely. Press-on nails work well on short nails as long as there is enough nail surface for secure adhesion. Choosing the correct size and preparing the nail properly will improve wear time.
How long should I wait before getting my hands wet after application?
For the strongest bond, avoid water, lotions, or oils for at least one to two hours after application. This allows the adhesive to cure properly and improves durability.
Can I paint over handmade press-on nails?
Yes. Most high-quality press-on nails can be painted with regular or gel nail polish if you want to change the color or add nail art. Just make sure to remove the polish carefully to avoid damaging the original finish.
Are handmade press-on nails safe for natural nails?
Yes. Handmade press-on nails are generally safe when applied and removed correctly. To protect your natural nails, avoid pulling them off forcefully. Soak them gently, use proper adhesive, and give your nails a short break between wears if they feel weak or dry.